Wednesday, April 17, 2013

Some Small Piggy Smiles

Hi all.

Ever see a card and think I HAVE to do that....and then it takes forever to fin the right occasion to come around??? Well I found such a card...and such an occasion DID come up!!

I was inspired by a couple of Piglet cards here and here. The one on Carla Scraps also came with a very handy tute, so I went from there. My GORJUS niece recently celebrated her 3rd birthday and so this was her card......
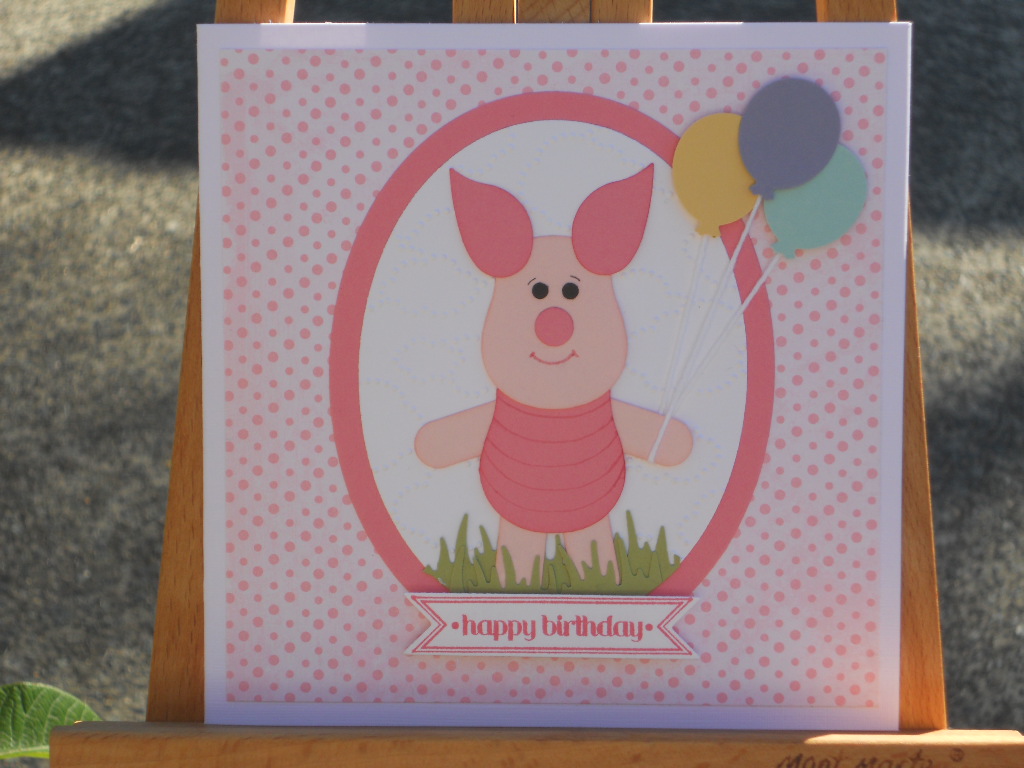
I found that everyone I shared this card with smiled, and that is the best thing ever!! I did change a couple of things in Carla's Tutorial in that I left Piglets Torso a single layer and drew on his "belly". This was done by centering and tracing around a "scrap" owl punch piece. I also embossed the white oval the with Cloudy Day EF....made such a difference.


The grass is done with the Martha Stewart Grass punch and I added the Itty Bitty Banner for the birthday.


To go with the card, I enclosed an UBER cute beaded bracelet/necklace and hair pin set made by my Bestie - Tracey. She is now selling sets like this and many more through e bay and Facebook under Berry-licious. She even does wee earrings too. They are so perfect for the up and coming young gal about town. Please check out her creations if you have the need for something special and unique foe a little princess.
 
 
Thanks for popping by. I so love reading all your comments and appreciate your taking the time to leave them.
 
Stuff used:
CS: (SU) Whisper White, Regal Rose, Pink Pirouette, Tea Party DSP (ret), Pear Pizzaz, Wisteria Wonder, So Saffron, Pool Party, Basic Black
Ink: (SU) Regal Rose, Pink Pirouette (also sponged on all Piglet pieces), Regal Rose SWM for mouth and belly lines
Stamps: (SU) Itty Bitty Banners
Dies and punches: (SU) Oval Framelits, Banner Framelits, Owl Punch, Bird Punch, Word Window Punch, Martha Stewart grass Punch, Carla Craft CP2 Balloon Punch and 1/8" circle punch
Other bits: SU Cloudy Day EF, Dimensionals, Double sided tape
 
Lynda xx


Saturday, April 13, 2013

Going Outside the Box a Little

Hi all.

Once again I find myself hanging my head in same at my total SLACKNESS in posting....seriously....where did 2 darn weeks go??? Believe me when I say it is not due of a lack of things to share!!

Today's creation has a slight twist on it and came about as I was VERY time poor. I had a request to do a card for a 10yo birthday party and that there was an iTune gift card to go with it. Immediately I thought "cool....do one of the Patty Stamps ones" like here. I was then going to do a larger version for the actual card to write in. Sadly this was also around the time of my 1st workshop and also a lot of other commitments. I ran very short of time to complete the 2 projects. The young birthday girl that was to received the card, her fave colours were red, black and purple, so this was my starting point.

So then I thought to myself why not just make the smaller gift card holder BIGGER? So Google got a flogging and no joy. So then I thought "ok....surely it can't be THAT hard to work out." I got to work...and this was the result.....
Front


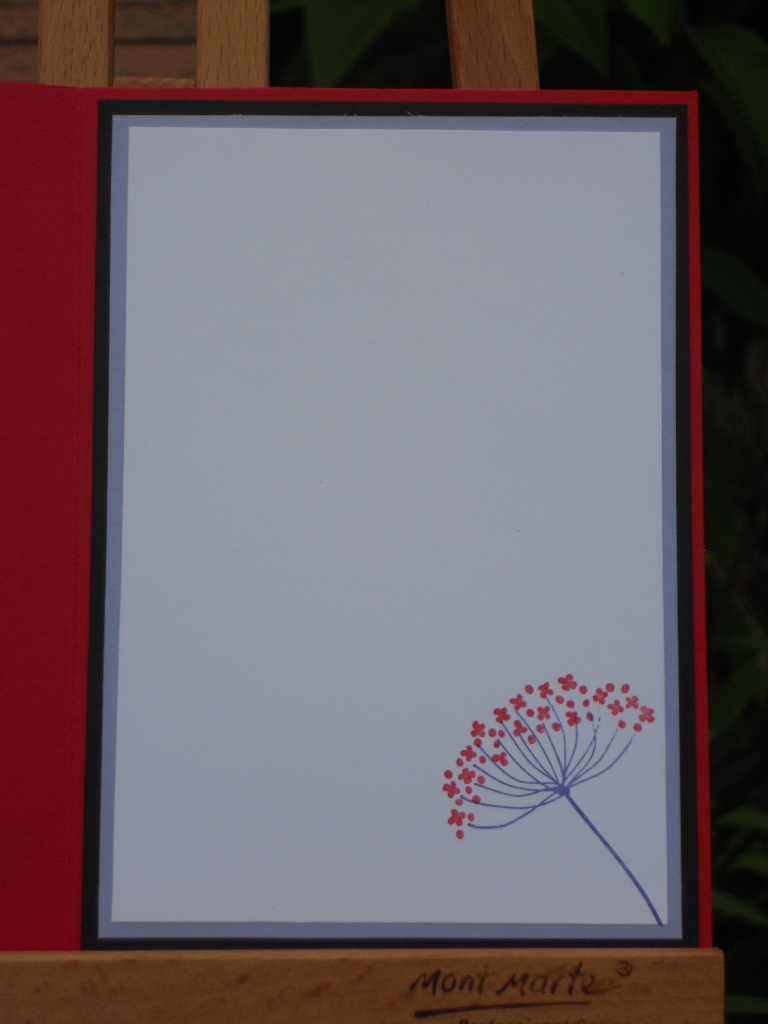
              Inside Front                                                                                                 Inside back


The fun part was getting the slot right in the very middle of the card. In the linked tute Patty uses the Word Window punch, but I wanted to step it up a little. I used one of the labels Framelit dies to assist in getting a very pretty shape. This was the result.....


This is what it looked like when the card was "normal". I thought it looked really PURDY.
 
 
I guess I should have started out by saying that this card is a standard A5 card (10.5cm x 14.8cm - or 1/2 and A4 sheet of CS.) The red base however was constructed from a 30 x 30cm sheet of CS to get all the folds etc.
 
Thanks for popping by and I hope you like this bigger version of the smaller traditional one. I think I may create some more of these as they are very handy to have and it really is an all in one!!
 
Stuff Used:
CS: (SU) Real Red, Basic Black, Whisper White, Almost Amethyst (ret), non SU glitter CS
Ink: (SU) Real Red, Almost Amethyst (ret), Certainly Celery
Stamps: (SU) Summer Silhouettes, Papillion Potpourri, Birthday Wish (ret)
Dies/Punches: (SU) Labels Collection Framelits, Elegant Butterfly Punch, Wide Oval and Large Oval Punch
Other Bits: Dimensionals, Double Sided Tape, Cuttlebug Olivia Alphabet (for the numbers)
 
Lynda xx

Monday, April 1, 2013

I Scrapped!!!!!

Morning all.

By now, most of you may have heard via the grapevine, other blogs, word of mouth or read it here first...about the digital scrapbooking and card making facility that Stampin' Up have called My Digital Studio (or MDS).

It's only $24.95 for the FULL version, which includes $600+ worth of content. You can download a FREE trial version for 30 days.  You have the potential through this software to do so much with it from Digital scrapbooking to cards, birthday invitations, birthday party decorations, Cake toppers, etc,etc,etc.....you are limited by your imagination!!!

MDS gives you the opportunity through their 30 day free trial (check it out here) and if you like what you do with it, then you have the opportunity through discs available in the main Catalogue (page 205) and the new Seasonal Catalogue (pg 5, 30 and 39 - hostess benefits) you can build a creative digital empire.

I have a blog friend - Nicole Derendorf - who is a genius at this kind of thing and has been BEYOND helpful in helping a non techno person like myself using this software. You can check out Nicole's amazing creations here. Just scroll through he blog and you will find many examples of her cleverness!!

Well....I hope you are all sitting down for the following reveal. I have watched my bestie scrapbook and marvelled at her creations. She has been AT ME for years to get off my backside and give it a go....well I did.....through MDS anyhow. This was my 1st attempt (click on the pic to make it larger)...

Now apparently, after you have "mastered a single page layout, you move onto a double page layout!!! This was the result.....


Now my 2 models are my children (now Miss 8 and Mast 12)....and yes...these pics were taken some time ago indeed.

I had a lot of fun (and more than a couple of bloopers) putting together these pages, but once you have a play....you DO get the hang of it....even if you are nearly computer illiterate like myself!!!

Thanks for popping by. Soooooooooooo much more to share!!

Stuff used:
SU MDS

Lynda xx

Saturday, March 30, 2013

Easter Bunny meets Easter Cow!!!

Hi all.

Firstly, I wanna wish all my readers all the very best for this Easter period. Here in Sydney we are having a mini Autumn heatwave (again) with temps hitting the high 20's to low 30's!!! (68F to 86F for those other than Celsius folk out there).

This year for the first time in a LONG time I am prepared for Easter. I do not buy my kids any eggs because by the time the grandparental bunny, The Aunty/Uncle Bunny and the Neighbour Bunny all make a stop....it gets a little ridiculous!!!! Sometimes to the point that we have Easter chocolate left over in September!!!

We have now 8 children in the villas around us ranging in age from 12-2. With this in mind....and so my 2 wee bunnies can drop their wee surprises off....I made these. They are made from the SU Mini Milk Carton Die (hence the Easter Cow reference!!!)

 
I had to take all the pics quickly as it was very hot in the sun and I did not want the contents to melt!!! Here it is close up at the front...and a small surprise at the back!!!!
 
 
The one thing that did surprise me a lot is HOW MUCH chocolate these wee containers hold!!! Check this out.....

 
I also could not forget the Mum's at dance class. We natter every Thursday whilst our daughters are upstairs learning. I was inspired by the magical tutorial by Julie Davison here. I did change hers up a little in that I used a "punch art" face as opposed to a hand drawn one....I cannot free hand well at all!!!! This is what they received.....
 
 
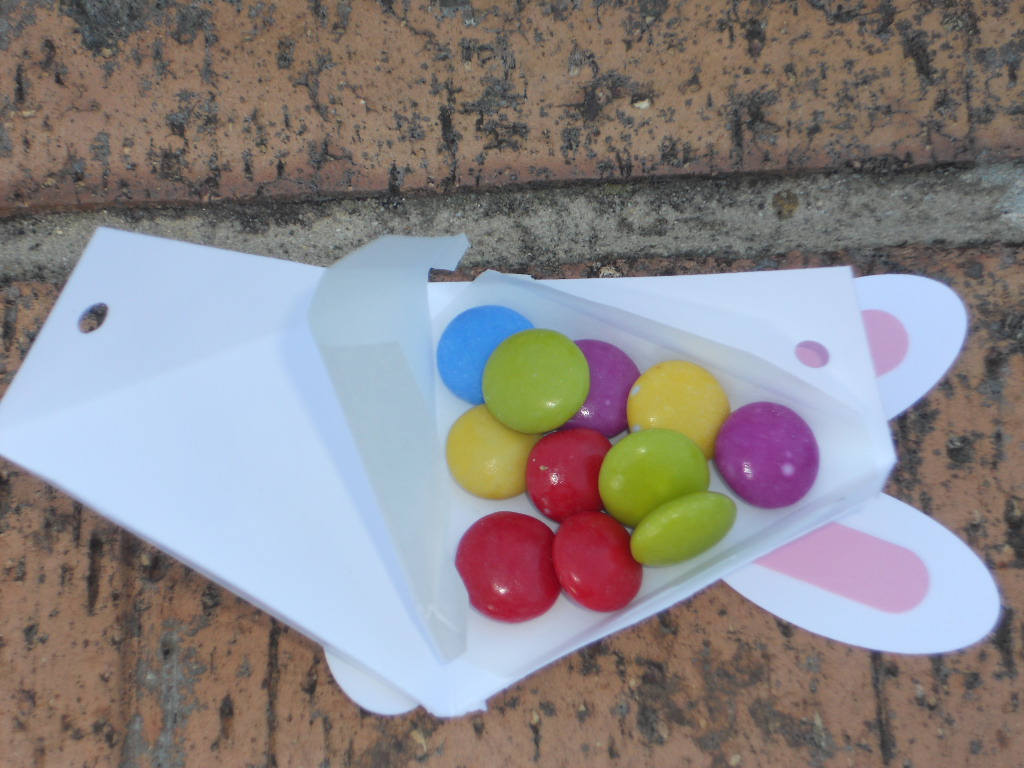
I did make the bunny too. It holds quite a few Smarties.
 
 
Here are their faces close up......
 
 
Sorry about some of the darker pics. Sometimes the shade was a better option!!!
 
Thanks for popping by and whatever your faith, belief or following, may the coming days provide with you fun, friends and laughter too.
 
Stuff used:
CS: Whisper White, Pretty In Pink, Daffodil Delight, Tangerine Tango, Many retired DSPs in the milk cartons
Ink: Black SWM, White Gel Pen
Punches: Milk Carton Bunny - Head 1 1/4" circle, Ears - Blossom Builder Punch, Nose - Owl Punch, Muzzle and White Mouth - 1/2" circle, Pink mouth and eyes - 1/4" circle, Tail - Boho Blossom Punch
                Triangle Bunny - Face - as per milk carton bunny except the eyes are the MEDIUM circle fm the Owl Punch, Ears - SU Large Oval Punch and Word Window Punch, Paws - SU small oval punch
                Triangle Chick - eyes - 1/4" circle, SU 2 3/8" Scallop Circle, Beak - Carla Craft CP2 square Punch
Other Bits: Tangerine Tango ribbon (Sycamore St Bundle fm SAB '13), Non SU Pink Satin ribbon, White Crochet cotton to tie the milk cartons, COPIOUS amounts of small chocolate!!!!
 
Lynda xx
 

Monday, March 25, 2013

My Very First

Hi all,

I was just chatting to a friend overseas and we both cannot get over the fact that March is nearly over!!! Where is the time going???

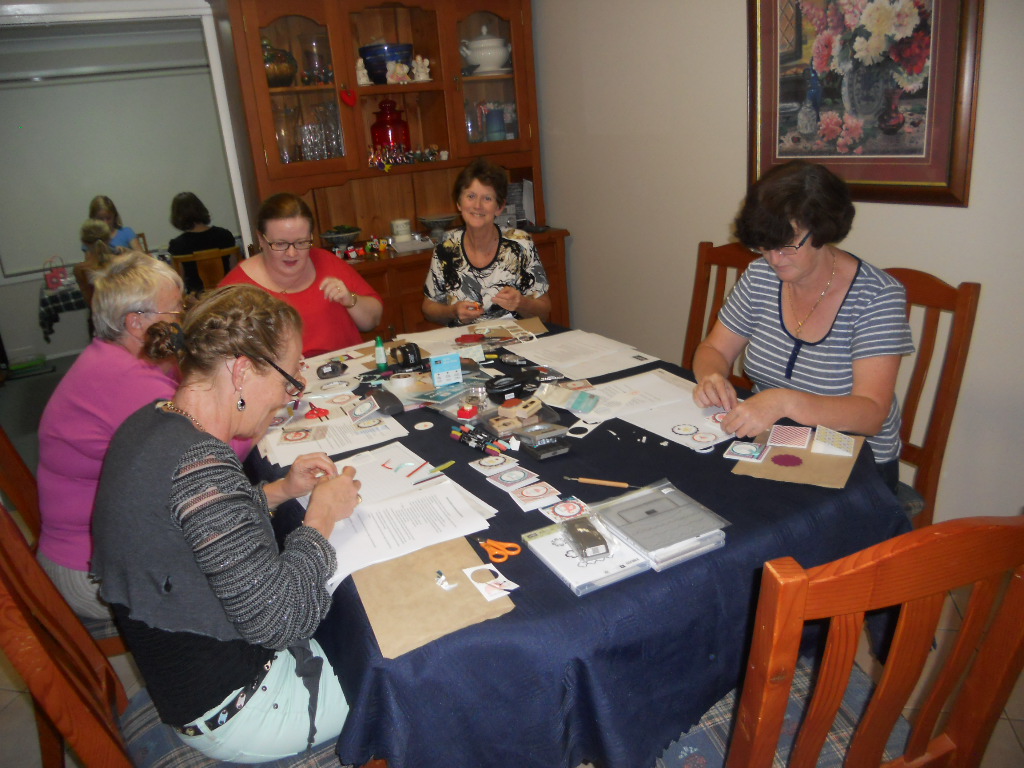
I have now been a demo for over 2 months and even that time has evaporated. I recently held my very first workshop at my dear friends house. We made a series of 3 x 3 note tags that incorporated all things SAB. They are a direct CASE of the ones I found on Stampin' Connection by Yvonne Ashe. I do not think Yvonne has a blog (or at least I cannot find one)!!

This is what we made.......


I also made something a little speccy for the hostess....as she was my very first hosty and also a great friend to help me on my SU way. True story....she actually introduced me to SU some 5 years ago when I was a reserve "off the bench" bum-on-a-seat for a workshop she held. there I was introduced to the SU punches and from there I was hooked!!! This is what I made her.....


It was filled with ribbons, buttons and of course, chocolate!!!! The ladies (and the 3 x 10yo's) that wee there had a fun time creating. Oops....just realised a couple managed to avoid the photo!!!


I was lucky enough that ladies did place orders and as a nice way to say thanks, I made them the  following notecards. These were based on the ones from Mary Fish's blog here.
 
 
I learnt so much in such a short time. Hectic yet so rewarding.
 
Thanks for popping by. I will try and list all the things used. Know that there is much to share. I am even using products and things that are NOT my usual style.
 
Stuff used:
3 x 3 note cards
CS: (SU) Whisper White, Sycamore Street DSP (SAB '13), Island Indigo, Tangerine Tango, Rich Razzleberry, Pool Party
Ink: (SU) SWM's in Razzleberry, Indigo, Calypso Coral and Pool Party
Stamps: (SU) Patterned Occasions (SAB '13)
Punches/dies: (SU) 2 3/8" Scallop Oval, 1 3/4" circle, Circles Die #2, Owl Punch, Carla Craft 3/16" circle
Other bits: Dimensionals, Sycamore Street Ribbon (SAB '13)
 
Hostess Gift
CS: (SU) Island Indigo, Pool Party, Whisper White
Ink: (SU) Razzleberry, Summer Starfruit, Island Indigo
Stamps: (SU) Madison Avenue (SAB '13), Itty Bitty Banners
Dies/ Embossing Folders: (SU) Ovals Framelits, Honeycomb EF, Fancy Favour Box Die
Other Bits: SU Vintage Faceted Buttons, Glue Dots, Dimensionals, Non SU blue 1/2 pearl
 
Thank You Notecards
CS: SU Notecards, Whisper White, Sycamore Street DSP
Ink: (SU) Razzleberry, Island Indigo, Tangerine Tango
Stamps: (SU) Petite Pairs, So Happy For You (ret)
Punches: Elegant Butterfly, Occasions Paper Piercing Pack
Other Bits: Dimensionals
 
Lynda xx


Wednesday, March 13, 2013

Just Three Words........

Hi All.

Needless to say the insanity button has been pressed WAY too many times around here of late. I cannot believe where all the time is going!!!

I am channelling a lot of energy into this Friday....my very first Workshop/Hostess party as a SU demo. A wonderful friend is hostessing for me and I am very excited/nervous/and all that goes with it.

One thing I absolutely love about the SU and greater crafting community is the amazing friendships. I have so many fab friends online and on Facebook, many (most) of whom I have never met. Yet, any time that one has trouble or falls on hard times, there are sooooo many rallying around with handmade RAK's in letterboxes and email/messages of courage and the like.

I had cause to send a card to a FB friend that has had a HORROR of a time of late. i do not know this girl very well, but something inside of me said I had to do something. So....with some stealth investigation to source her addy, I sent her this card........


It also gave me the chance to further play with some SAB goodies...being the Sycamore Street DSP, the Madison Avenue stamp set and the co-ordinating buttons and ribbon. I will admit to not using much Tangerine Tango at all, but I am kind of getting use to it using it with this paper.

I used SWM's to colour the flower and used the new Oval Framelits (available in the new seasonal mini). Made it all oh so easy. I also carried through the hexagonal shape in the DSP by embossing the DSP with the Hexagon EF!! It was finished off with a banner and a button with ribbon threaded through it. Easy-peasy!!


I received a beautiful message of thanks from the young lass too. Looks like it did the trick. Glad I listened to my gut!!
 
Thanks for popping by. I have a couple more projects to show you with this year's SAB goodies. Remember it finished on March 22nd, so if you have your eye on anything, drop me a line and I can hopefully help you out.
 
Stuff used:
CS: (SU) Island Indigo, Tangerine Tango, Whisper White, Sycamore Street DSP
Ink: (SU) Island Indigo, SWM's in Pool Party and Summer Starfruit
Stamps: (SU) Madison Avenue (SAB '13), Loving Thoughts
Punches/Dies etc: (SU) Oval Framelits, Heaxgon EF
Other Bits: SAB Sycamore Street Ribbon and Button Pack, Dimensionals, Old retired button (centre of flower, white crochet twine
 
Lynda xx


Sunday, March 3, 2013

Little Girls Simply love......

Good afternoon all.

Man have I been slack in posting!! I have been so busy starting out as a demo and then balancing a bunch of birthday's and other celebrations, there is oh so much to show you.

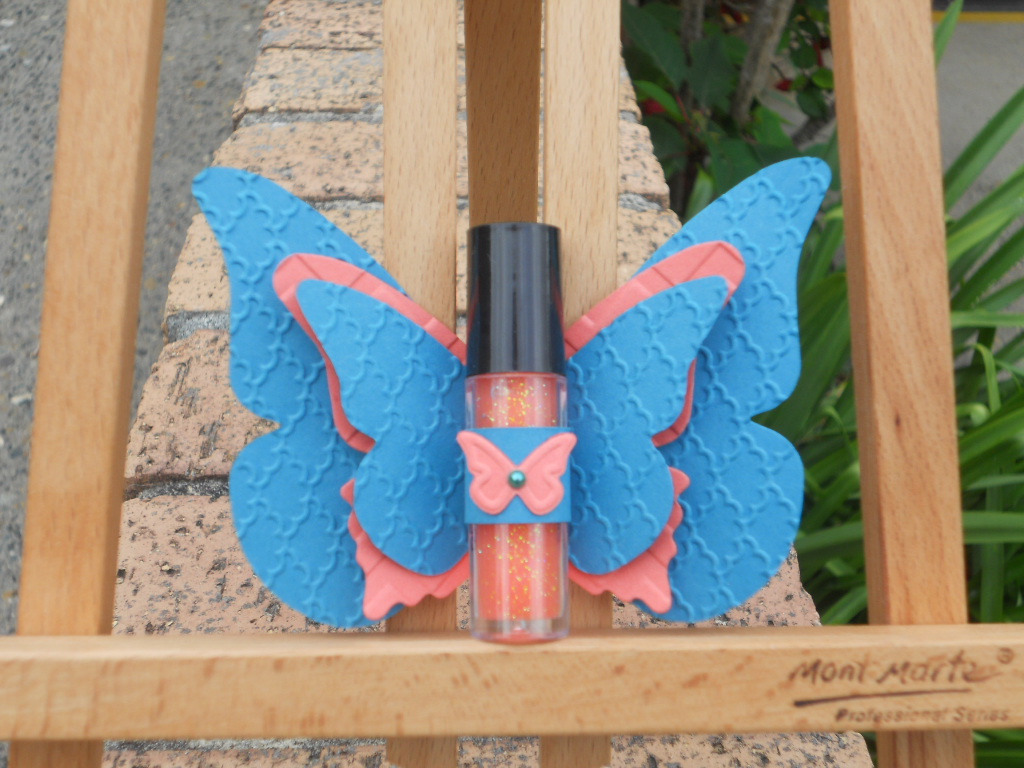
Given that I have a Miss 8 of my own, it goes without saying that I have a lot of little girl's cards and gifts to come up with. One that I have made a couple of times now is a lip gloss/balm butterfly. I find that EVERYONE likes butterflies, no matter what their age. There are many versions of these around in cyberspace, but these are what I have come up with.......

This first one has an orange glitter gloss in it that I picked up from my local Woolworths. It came in a 3 pack (with a pink and a clear one too) I used the colour of the lip gloss as the basis for my colour combination. Here is what the butterfly lip gloss holder looks like with CS only....

 
Seriously, they are very easy to do with the Beautiful Wings Bigz die and they are a massive hit. Here is the card and the small gift together......
 
 
The next set just kept getting added to. Miss 8 picked out the DSP and so this one is a mix of DSP and CS. Purely by chance the gloss colour was the same pink as the DSP!!! The gift was teamed with a small post it pad holder that I have done many times before (search this blog for post it holder for the links). I found the wee bead making set (also a dumb luck find in Big W) and then a ribbon embellishment and away we went. The small stamp on the present on the post it holder is from Pretty Petites, available until March 22nd in SAB with the matching punch. It is VERY cute and is brilliant for large cards and small. The card is a "Z" fold one.


Guaranteed smiles I promise.
 
Thanks for popping by. Plenty more to share...soon I hope.
 
Stuff Used:
CS: (SU) Island Indigo, Calypso Coral, Regal Rose, Baja Breeze, Whisper White, Doodlebug DSP "All Wrapped Up"
Ink: (SU) Regal Rose, Baja Breeze
Stamps: (SU) So Happy For You (ret), Pretty Petites (avail SAB 2013)
Punches, Dies, Embossing Folders: (SU) Beautiful Butterflies Bigz die, Beautiful Wings Embosslit, 1 1/4Square Punch, Triple Layer Blossom Punch (ret), Petite Curly Label Punch (avail in SAB 2013), Cloudy Day Textured EF (avail in the new seasonal mini), 1 1/4 Scallop Circle punch, Carla Craft 1" circle punch,  Darice Floral EF
Other bits: Dimensionals, Coloured Glitter CS, Mini Pens fm Reject Shop, Rhinestones fm stash, Foam glitter No 7 fm stash
 
Lynda xx